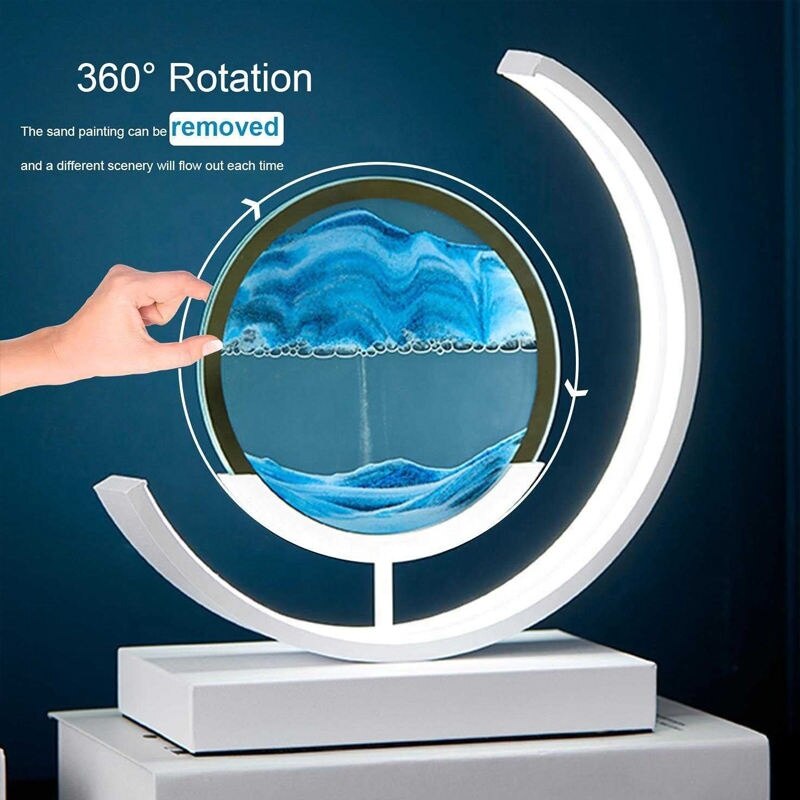
Moving sand art pictures, also known as kinetic sand art, are mesmerizing and captivating works of art. These art pieces use colored sand and an enclosed frame to create intricate and ever-changing patterns. The sand is carefully layered and manipulated to create a stunning visual display, and the frame allows the sand to move freely without spilling out. If you’re interested in creating your own moving sand art pictures, here’s a step-by-step guide to help you get started
Step 1: Gather your supplies
The first step in making your own moving sand art pictures is to gather all the necessary supplies. Here’s a list of what you’ll need:
- Colored sand: You can find colored sand at most craft stores or online. You’ll need at least three colors to create a layered effect, but you can use more if you’d like.
- Frame: You’ll need a frame to hold your sand art. You can use a shadow box frame or any other frame with a glass or plexiglass front. Make sure the frame is deep enough to hold several layers of sand.
- Clear tape: You’ll need clear tape to secure the glass or plexiglass front to the frame.
- Funnel: You’ll need a funnel to pour the sand into the frame.
- Spoon: You’ll need a spoon to manipulate the sand and create designs.
- Pencil: You’ll need a pencil or other pointed object to create patterns in the sand.
Step 2: Prepare your frame
Before you start layering the sand, you’ll need to prepare your frame. Remove any backing or filler from the frame so that you’re left with just the frame and the glass or plexiglass front. Clean the glass or plexiglass front to remove any smudges or fingerprints.
Next, use the clear tape to secure the glass or plexiglass front to the frame. Make sure the tape is secure and covers the entire perimeter of the frame.
Step 3: Layer the sand
Now it’s time to start layering the sand. Begin with your first color and pour a small amount of sand into the frame. Use the spoon to spread the sand evenly across the bottom of the frame. You can use the pencil to create patterns or designs in the sand if you’d like.
Once the first layer is complete, use the funnel to add your next color of sand. Repeat the process of spreading the sand evenly across the frame and creating patterns as desired.
Continue adding layers of sand until you’ve reached the desired depth. You can create as many layers as you’d like, but keep in mind that the more layers you have, the more intricate the patterns will be.
Step 4: Manipulate the sand
Now it’s time to start manipulating the sand to create your design. Use the spoon to carefully push and pull the sand, creating valleys and peaks. You can also use the pencil to create more intricate designs.
Experiment with different techniques to create the desired effect. For example, you can use the spoon to create a swirling effect, or the pencil to create a geometric pattern.
Step 5: Display your art
Once you’re happy with your design, it’s time to display your moving sand art. Hang the frame on a wall or place it on a table where it can be easily viewed. The sand will continue to shift and change over time, creating new patterns and designs.
Tips for creating the best moving sand art pictures:
- Use a variety of colors to create a more dynamic effect.
- Experiment with different layering techniques, such as creating a gradient effect.
- Use different sized spoons and pencils to create different patterns and textures.
- Keep the sand level throughout the frame to prevent the sand from spilling out.
- Use a steady hand when pouring the sand to create clean lines and prevent spills.
- Create a design or outline before pouring the sand to ensure a cohesive and aesthetically pleasing final product.
- Consider adding other materials, such as shells or small rocks, to add texture and depth to the piece.
- Allow the sand to fully settle before moving or tilting the frame to prevent the sand from shifting and ruining the design.
- Keep the frame or container tightly sealed to prevent dust or debris from settling on the sand and distorting the design.
- Experiment with different frame or container shapes to add interest and dimension to the piece.
Moving sand art is a unique and mesmerizing form of art that can create stunning images and designs. By following these tips and experimenting with different techniques, you can create your own beautiful and captivating sand art pieces. So gather some sand, choose your colors, and let your creativity flow to create your own masterpiece.
